
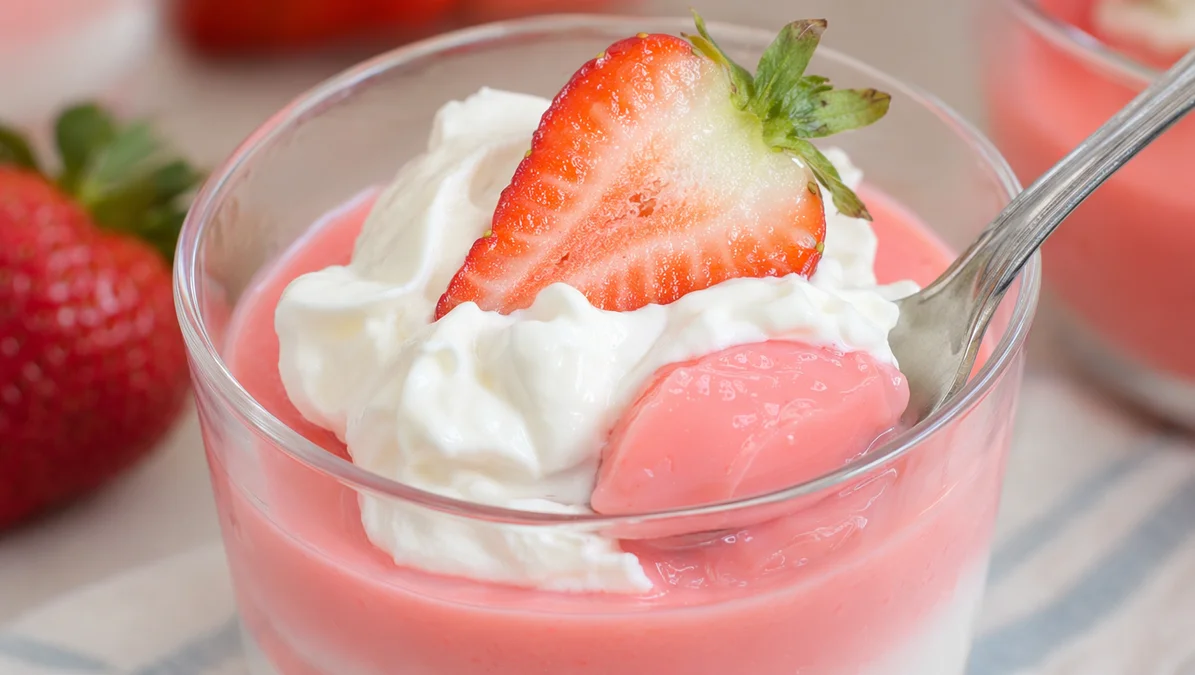
This 2-Ingredient Greek Yogurt Dessert blends strawberry gelatin with Greek yogurt for a quick, high-protein treat perfect for meal prep or picnic food. Ready in 5 minutes!
Ingredients
Instructions
Begin by selecting a large mixing bowl that can accommodate the vigorous whisking needed to incorporate the gelatin powder evenly into the yogurt. The bowl should be wide enough to allow you to whisk without splashing. If you are using a metal or glass bowl, ensure it is completely dry; any moisture can cause the gelatin to clump prematurely. For best results, let the Greek yogurt come to room temperature by removing it from the refrigerator about 10 minutes before starting. This slight temperature rise reduces the resistance of the yogurt, making it easier to blend smoothly with the gelatin powder. Cold yogurt straight from the fridge can cause the gelatin to seize or form small lumps that are difficult to dissolve. Additionally, if you are using sugar-free gelatin, note that it often contains a higher proportion of gelatin and artificial sweeteners, which may require a bit more vigorous whisking to fully disperse. Have your whisk or a hand mixer ready, though a whisk is preferred for better control and to avoid over-aeration, which can introduce too many air bubbles into the final dessert.
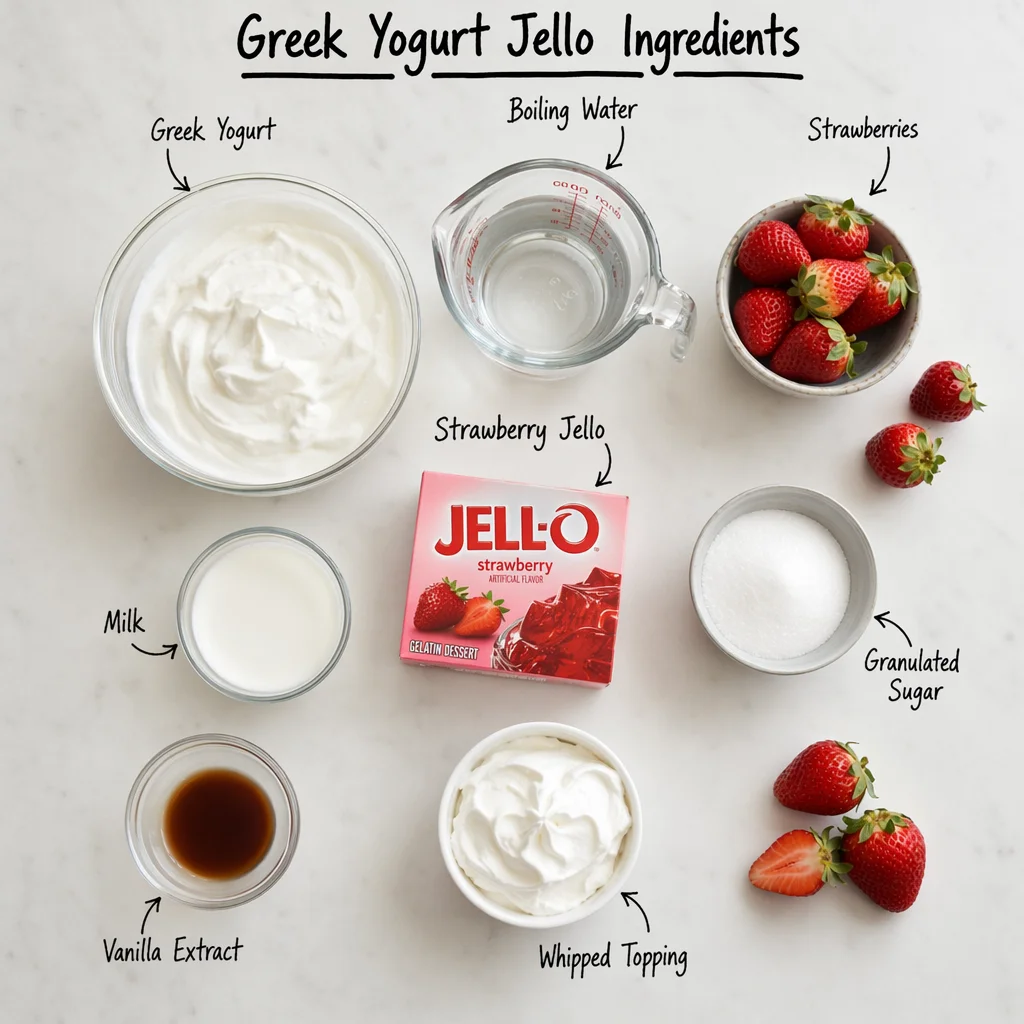
Add the entire contents of the strawberry gelatin powder to the bowl with the Greek yogurt. Do not add water or any liquid; the gelatin will hydrate using the moisture naturally present in the yogurt. This is a critical step because if you add water, the dessert will become too thin and may not set properly. The gelatin powder must be evenly distributed throughout the yogurt to ensure uniform thickening and flavor. Use a dry measuring cup or simply sprinkle the powder over the surface of the yogurt to help prevent clumping. If you are using a flavored gelatin other than strawberry, such as raspberry or cherry, the process remains identical. However, avoid using gelatin mixes that contain fruit pieces or marshmallows, as those will not dissolve and will create an uneven texture. The strawberry flavor is classic and pairs beautifully with the tanginess of Greek yogurt, but feel free to experiment with other berry flavors or even citrus varieties like lime or orange for a different profile.
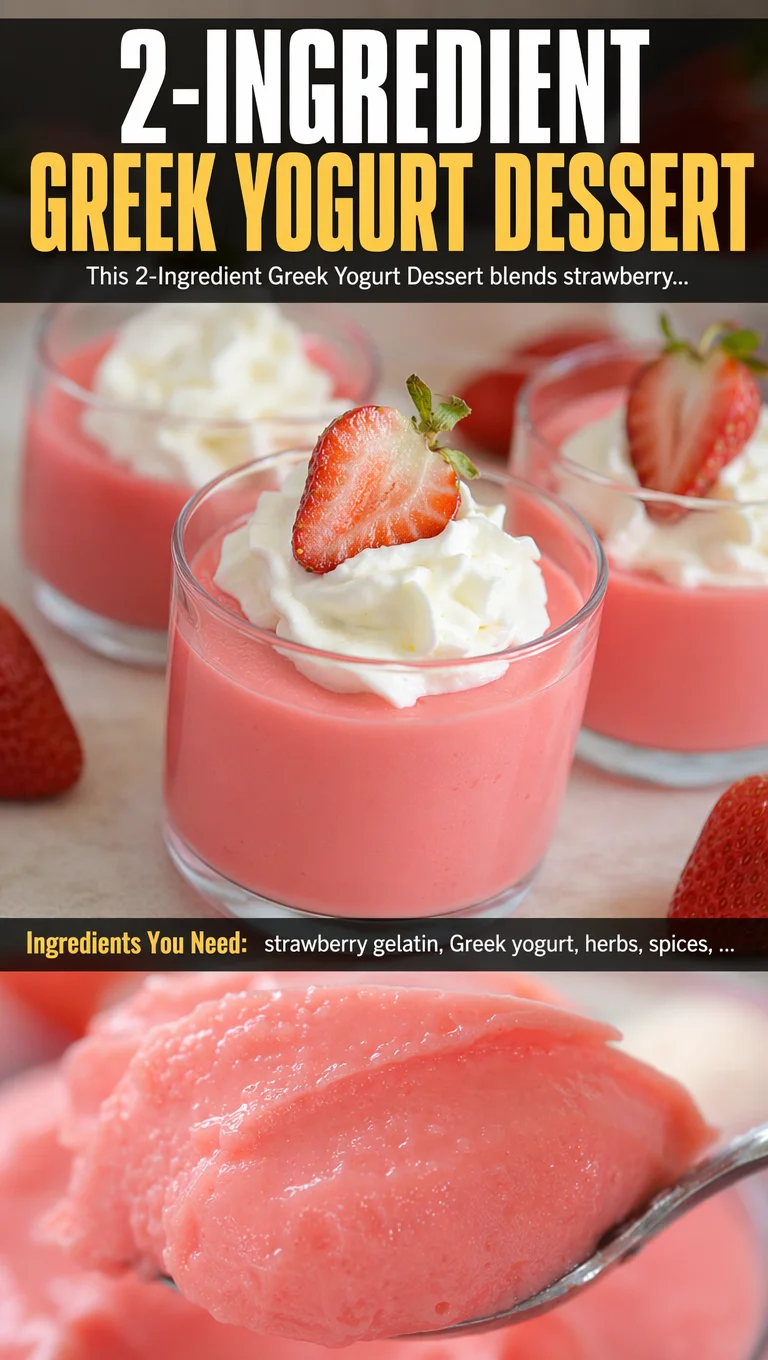
Whisk the gelatin powder into the yogurt vigorously and continuously for about 2 to 3 minutes. You want to see the powder fully dissolve and the mixture transform from a lumpy, pink-speckled paste into a smooth, uniformly pink, and slightly thickened cream. As you whisk, you will notice the mixture becoming more viscous; this is the gelatin beginning to activate and bind with the water molecules in the yogurt. If you stop too early, the dessert may have pockets of dry gelatin powder that result in an unpleasant gritty texture. For a foolproof smooth result, you can use a rubber spatula to scrape down the sides and bottom of the bowl occasionally, ensuring every bit of powder is incorporated. The final consistency should be similar to a thick pudding or a very thick milkshake. It should hold soft peaks when you lift the whisk, meaning the mixture mounds slightly but slowly settles back. If your mixture seems too thin after 3 minutes of whisking, let it sit for 1 minute to allow the gelatin to fully hydrate, then whisk again for 30 seconds. Do not over-whisk, as this can incorporate too much air and create a foamy top layer that will not set smoothly.
Once the mixture is smooth and thickened, decide on your serving and setting options. For individual portions, divide the mixture evenly among 4 small serving dishes, ramekins, or glass cups. Using clear glass cups allows you to see the beautiful pink layers and makes for an attractive presentation, especially if you plan to serve this as a picnic dessert. Alternatively, you can pour the entire mixture into a single large dish, such as an 8×8-inch baking pan, to create a slab that can be cut into squares later. If you want a layered effect, you can pour half the mixture, let it set for 30 minutes, then add a layer of fresh fruit or a different flavor of gelatin mixture before adding the remaining yogurt mixture. However, for this basic version, a single layer is perfectly delicious. Tap the dishes gently on the counter to release any trapped air bubbles that may have formed during whisking. This will give you a silky-smooth surface without unsightly holes.
Refrigerate the desserts uncovered for at least 2 hours, or until firm to the touch. The setting time can vary depending on the fat content of your yogurt and the type of gelatin used. Full-fat Greek yogurt will set more firmly because the higher fat content helps stabilize the gelatin network, while nonfat yogurt may result in a slightly softer, more mousse-like texture. Sugar-free gelatin sometimes sets a bit softer than regular gelatin due to differences in the gelatin concentration, so you may need to refrigerate for an additional 30 minutes. Do not rush this step; if you serve the dessert before it has fully set, it will be runny and not hold its shape. The dessert is ready when it jiggles slightly like a firm panna cotta and a spoon can stand upright in the center. For best results, you can refrigerate overnight, which actually improves the texture as the gelatin continues to strengthen. Once set, cover each dish with plastic wrap or a lid if you plan to store them for more than a few hours, as the dessert can absorb odors from the refrigerator.
Before serving, you can garnish the dessert with fresh strawberry slices, a dollop of whipped cream, a sprinkle of crushed graham crackers, or a few mint leaves for a pop of color. If you are packing this for a picnic, keep the desserts chilled in a cooler until ready to serve. They will hold their shape well for several hours if kept cold. To serve, simply spoon the dessert directly from the dish or invert the ramekin onto a plate if you want a more formal presentation. To unmold, run a thin knife around the edge of the dish, then briefly dip the bottom of the dish in warm water for 10 seconds before inverting. The dessert should slide out cleanly. Enjoy the creamy, tangy, and sweet strawberry flavor that tastes indulgent but is actually packed with protein and low in sugar, especially if you used sugar-free gelatin and nonfat Greek yogurt. This dessert is proof that healthy eating can be both simple and delicious.
For best results
- For the smoothest texture, always use room-temperature Greek yogurt. Cold yogurt straight from the fridge can cause the gelatin powder to clump and form tiny lumps that are difficult to whisk out. To bring it to room temperature quickly, remove the yogurt from the refrigerator about 15 minutes before you start, or place the sealed container in a bowl of warm water for 5 minutes. Additionally, avoid using Greek yogurt that has a lot of whey separation on top; if you see liquid whey, pour it off or stir it back in thoroughly before measuring. Too much whey can dilute the gelatin and affect the set. If you want an ultra-smooth dessert, you can even push the yogurt through a fine-mesh sieve before mixing to remove any graininess, though this is rarely necessary with high-quality Greek yogurt.
- The type of gelatin you choose significantly impacts the final flavor and nutritional profile. Regular strawberry gelatin contains sugar and artificial flavors, resulting in a sweeter, more traditional Jell-O taste. Sugar-free gelatin uses artificial sweeteners like aspartame or sucralose, which can have a slightly different aftertaste but drastically reduce the sugar content to nearly zero. If you are sensitive to artificial sweeteners, look for natural fruit-flavored gelatin made with real fruit juice and stevia, though these may set a bit softer. For a completely natural option, you can use unflavored gelatin powder and add your own strawberry puree and sweetener, but that increases the ingredient count. For this 2-ingredient recipe, stick with a boxed strawberry gelatin for convenience and consistent results.
- Greek yogurt is essential for the thick, creamy texture of this dessert. Do not substitute regular yogurt or skyr, as they have a higher water content and will result in a runny, icy dessert that does not set properly. Greek yogurt is strained to remove excess whey, giving it a thick, concentrated protein content. For the highest protein, choose nonfat Greek yogurt (about 20g protein per cup), but full-fat Greek yogurt (about 15g protein per cup) provides a richer, more luxurious mouthfeel. If you are dairy-free, you can use a thick coconut yogurt or soy yogurt, but note that these may set more softly and have a different flavor profile. You may need to add a bit more gelatin or refrigerate longer to achieve a firm set.
- This dessert can be made ahead and stored in the refrigerator for up to 5 days. In fact, the texture improves after 24 hours as the gelatin continues to set. To store, cover each serving dish tightly with plastic wrap or a lid to prevent the dessert from absorbing odors and to avoid a skin forming on top. If you plan to keep it longer than 3 days, consider adding a thin layer of plastic wrap directly on the surface of the dessert before sealing the container. Do not freeze this dessert, as freezing will ruin the gelatin structure and result in a watery, separated mess when thawed. For meal prep, portion the mixture into individual containers with lids, and they will be ready to grab and go for a quick high-protein snack.
- If you want a thicker, more mousse-like consistency, you can fold in 1/2 cup of heavy cream (whipped to soft peaks) into the yogurt-gelatin mixture before chilling. This will add richness and volume, but note that it increases the calorie and fat content. Alternatively, for a lighter version, fold in 1/2 cup of aquafaba (chickpea brine) whipped to stiff peaks. This is a vegan trick that adds airiness without dairy. However, the classic 2-ingredient version is already perfectly creamy, so these additions are optional variations.
- To create a beautiful layered parfait, let the first layer set for about 1 hour, then gently spoon a second layer of the same or different flavor on top. You can also add a layer of fresh fruit, granola, or crushed cookies between the yogurt layers for texture contrast. For a festive presentation, use clear plastic cups with lids for picnics or parties. The layers will be visible and impressive, yet the dessert remains incredibly easy to make. Just remember that adding extras may increase the carbohydrate content, so adjust your macros accordingly.
Variations
- **Berry Swirl Variation**: After whisking the gelatin into the yogurt, gently fold in 1/2 cup of fresh or frozen mixed berries (strawberries, blueberries, raspberries). The berries will add natural sweetness, fiber, and antioxidants. If using frozen berries, thaw them slightly and drain excess liquid to prevent the dessert from becoming watery. Swirl the berries with a knife to create a marbled effect before chilling. This variation adds about 30 calories and 5g carbs per serving, but boosts the vitamin C content significantly.
- **Chocolate Strawberry Twist**: Replace the strawberry gelatin with sugar-free chocolate or chocolate fudge gelatin. The combination of chocolate and Greek yogurt tastes like a decadent mousse. For an extra touch, fold in 1 tablespoon of unsweetened cocoa powder along with the gelatin to intensify the chocolate flavor. Top with fresh strawberries or a sprinkle of cacao nibs. This variation is still only 2 ingredients if you use chocolate gelatin, but the cocoa powder adds a third. Each serving has about 160 calories and 4g protein.
- **Vegan Coconut Version**: For a dairy-free alternative, use full-fat coconut yogurt in place of Greek yogurt. Coconut yogurt is naturally thick and creamy, though it has a distinct coconut flavor that pairs wonderfully with tropical fruit gelatins like mango, pineapple, or passion fruit. Because coconut yogurt has a slightly lower protein content (about 2g per serving), this version is less protein-rich but still satisfying. Use a vegan gelatin made from agar-agar or carrageenan, following the package directions to ensure proper setting. Note that agar sets more firmly at room temperature, so you can skip refrigeration if needed.
- **High-Protein Booster**: To increase the protein content even further, add one scoop (about 30g) of unflavored or strawberry protein powder to the yogurt before mixing in the gelatin. Whey protein works best as it dissolves easily, but plant-based protein powders can also be used. Be aware that protein powder can thicken the mixture significantly, so you may need to add a tablespoon or two of milk (dairy or plant-based) to achieve a pourable consistency. This variation yields about 25g protein per serving, making it an excellent post-workout snack or meal replacement.
- **Keto-Friendly Adaptation**: Use sugar-free strawberry gelatin and full-fat Greek yogurt (or even full-fat sour cream for extra richness). This combination keeps the net carbs very low (around 3g per serving) while providing healthy fats. You can also add 1 tablespoon of MCT oil or coconut cream to increase the fat content for ketogenic diets. The dessert will be extra creamy and satisfying. Just be mindful of portion sizes, as the calories increase with higher fat ingredients.
Nutrition
- Calories150 kcal
- Total Fat5g
- Saturated Fat3g
- Cholesterol15mg
- Sodium85mg
- Total Carbohydrates18g
- Dietary Fiber0g
- Sugars16g
- Protein15g