
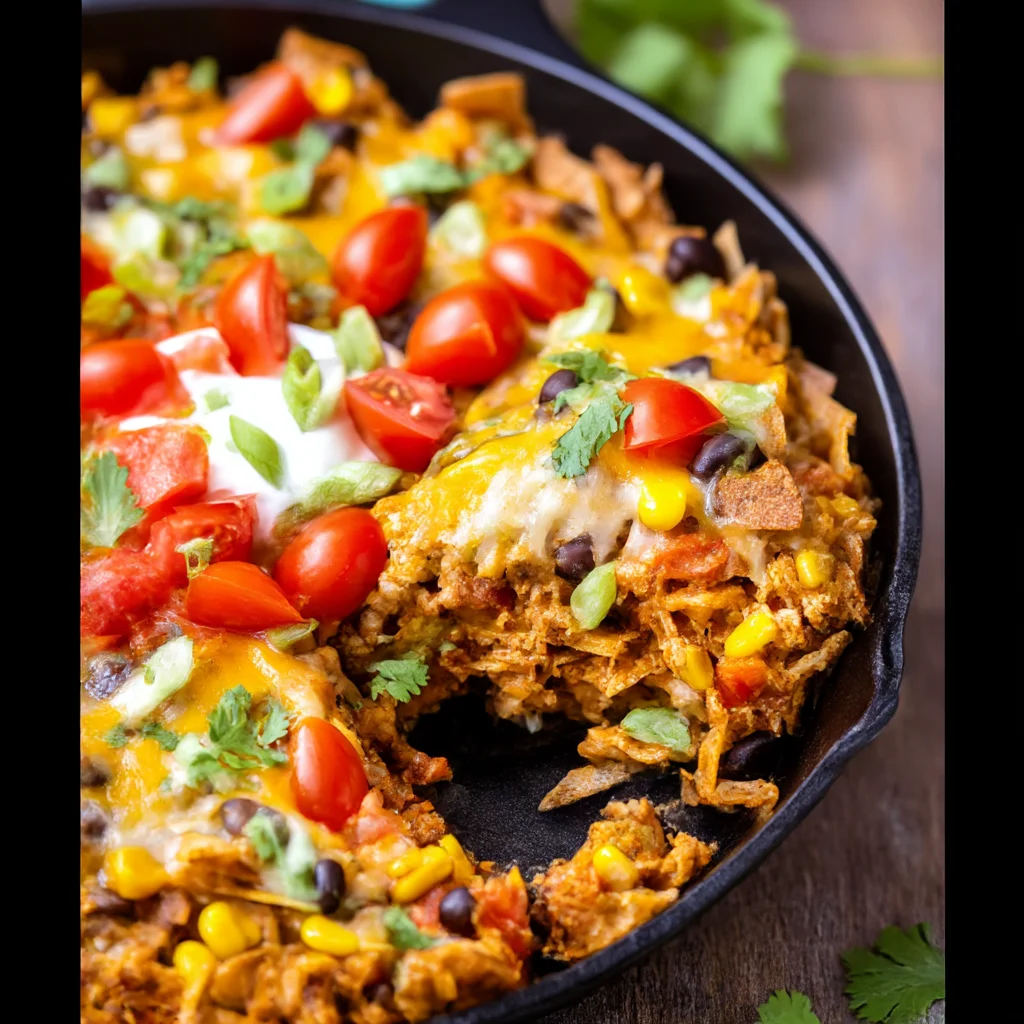
This simple protein burrito casserole dinner combines chicken, rice, and beans for an easy high-protein dinner that the whole family will love. Perfect for meal prep.
Ingredients
Instructions
Preheat your oven to 375°F (190°C). While the oven heats, gather all your ingredients. This step ensures a smooth cooking process. Cook the rice according to package directions if you haven’t already; about 2 cups of cooked rice is needed. Fluff the rice with a fork and set aside. The rice will absorb the saucy flavors as it bakes, becoming tender and flavorful.
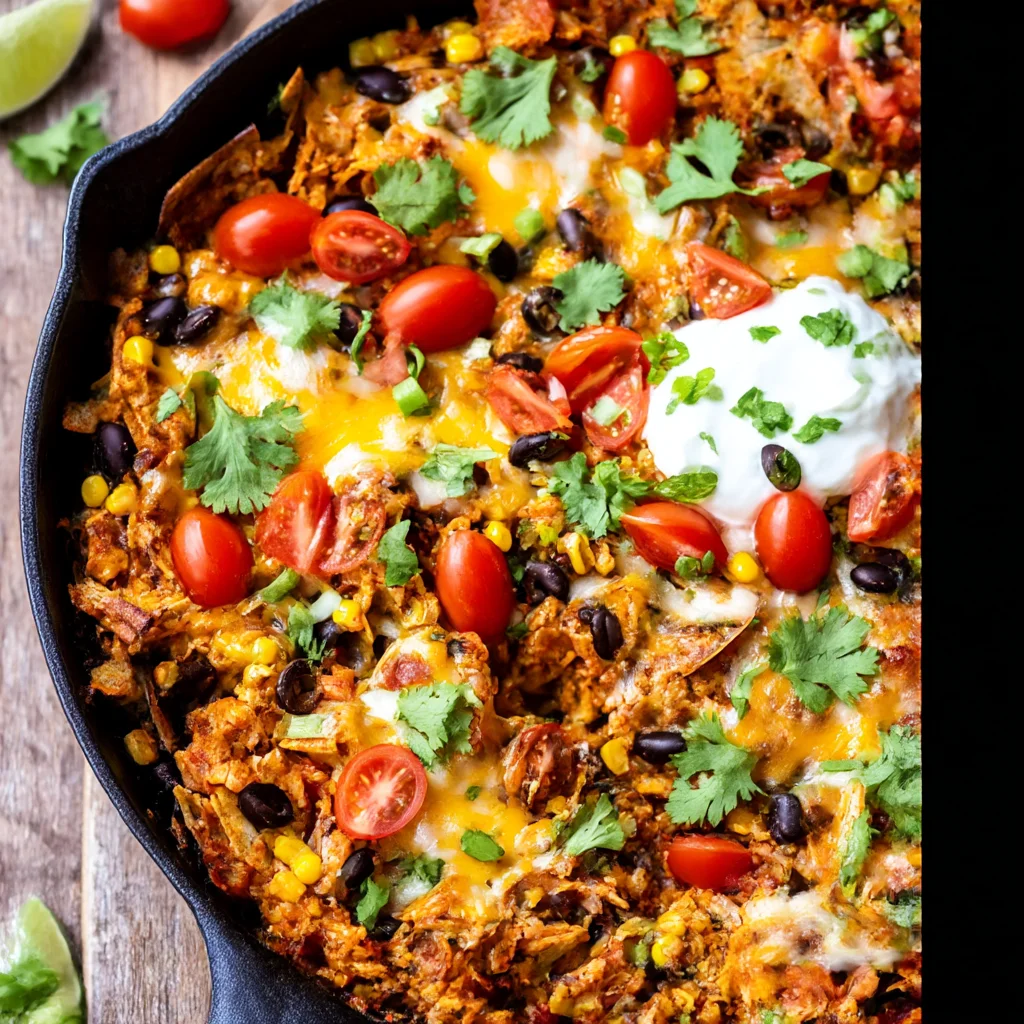
Season the chicken breasts with a pinch of salt, pepper, and half of the cumin and chili powder. In a large skillet over medium-high heat, add the olive oil. Once shimmering, place the chicken breasts in the skillet. Cook for 5-6 minutes per side until golden brown and cooked through (internal temperature reaches 165°F/74°C). The chicken should have a nice sear on the outside, sealing in juices. Remove the chicken to a cutting board and let it rest for 5 minutes. Then shred it using two forks or dice into bite-sized pieces. The aroma of toasted spices will fill your kitchen.
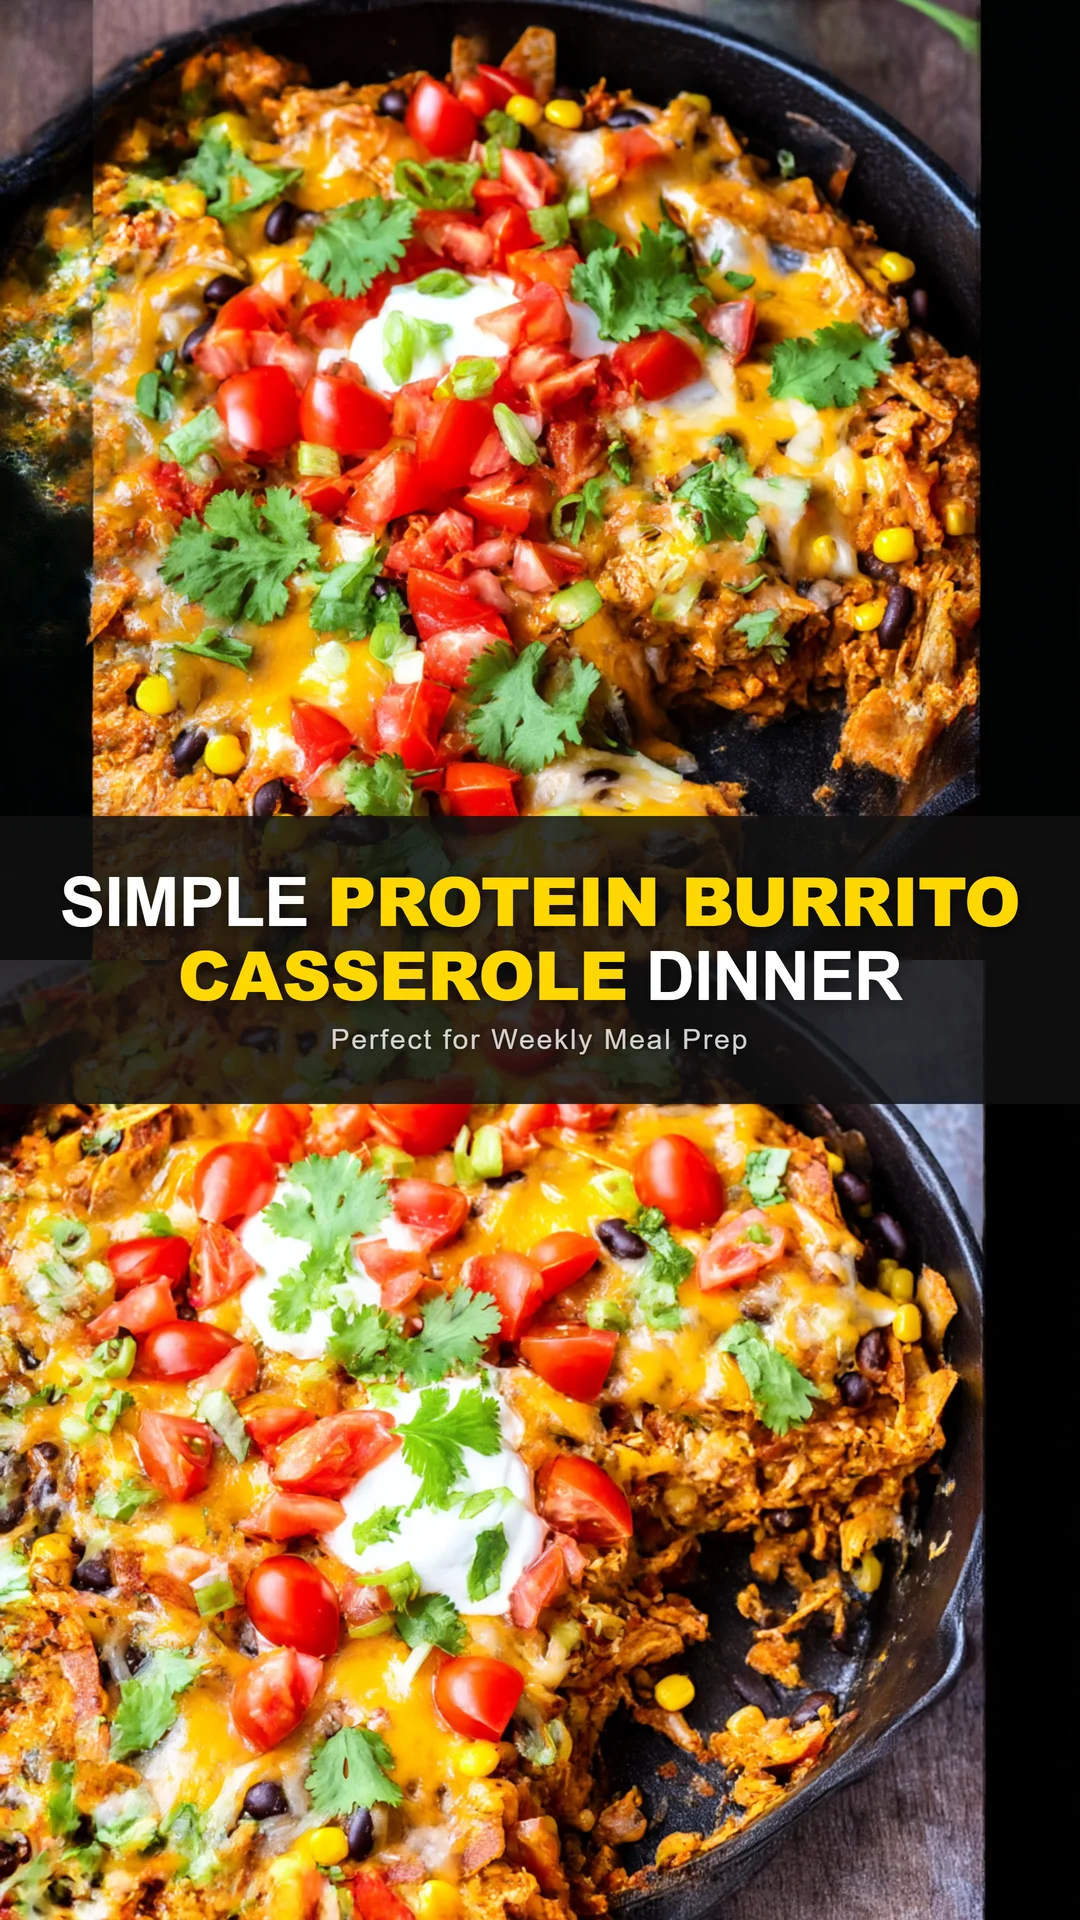
In the same skillet, reduce heat to medium and add the diced onion. Sauté for 3-4 minutes until translucent, scraping up any browned bits from the chicken. Add the minced garlic and cook for another 30 seconds until fragrant. The onions will become sweet and tender, forming the flavor base. If the pan seems dry, add a splash of water or broth.
Add the drained black beans and pinto beans to the skillet along with the enchilada sauce, salsa, remaining cumin, chili powder, smoked paprika, and a pinch of salt and pepper. Stir everything together and bring to a simmer. Let it cook for 2-3 minutes, allowing the flavors to meld. The sauce will thicken slightly and become rich and aromatic. Taste and adjust seasoning if needed.
In a large bowl, combine the cooked rice, shredded chicken, and the bean mixture. Stir until evenly distributed. The mixture should be moist but not soupy. If it looks dry, add a little more salsa or enchilada sauce. This is your casserole base—each bite will have rice, chicken, and beans coated in a savory sauce.
Transfer the mixture to a greased 9×13-inch baking dish. Spread it into an even layer using a spatula. Sprinkle the shredded cheese evenly over the top, covering the entire surface. The cheese will melt into a golden, bubbly crust. For extra color, you can add a few dashes of paprika on top.
Bake in the preheated oven for 20-25 minutes, until the cheese is melted and bubbly and the edges are slightly browned. If you prefer a deeper golden top, switch to broil for the last 2 minutes, watching carefully to avoid burning. The casserole should be hot throughout and the cheese will stretch when pulled with a fork.
Remove from the oven and let it rest for 5 minutes. This allows the casserole to set, making it easier to serve. Garnish with your favorite toppings like sour cream, diced avocado, fresh cilantro, or sliced green onions. Serve warm and enjoy the layers of flavor in every bite. Leftovers can be stored in the fridge for up to 5 days or frozen for up to 3 months.
For best results
- For the best texture, use long-grain white rice like jasmine or basmati. These varieties stay fluffy and separate after baking, rather than turning mushy. If you prefer brown rice, cook it slightly underdone (about 5 minutes less) since it will continue to cook in the oven. You can also use pre-cooked frozen rice to save time—just thaw and drain any excess moisture before mixing.
- To maximize protein, consider using Greek yogurt as a sour cream substitute when serving. It adds a creamy tang and boosts the protein content by about 5 grams per serving. Alternatively, mix cottage cheese into the casserole before baking for extra protein and a creamy texture—just blend it first for a smooth consistency.
- Shredding your own cheese from a block is highly recommended. Pre-shredded cheeses are coated with anti-caking agents like cellulose, which can prevent them from melting smoothly. A freshly shredded Mexican blend will melt into a gooey, golden crust that stretches beautifully. You can also use part-skim mozzarella for a lower-fat option.
- If you want to reduce sodium, opt for low-sodium enchilada sauce and salsa, and rinse the canned beans thoroughly under cold water. This can cut the sodium content by up to 40%. You can also make your own enchilada sauce using tomato paste, broth, and spices—it's surprisingly easy and lets you control the salt level.
- Meal prep tip: Assemble the casserole completely but do not bake it. Cover tightly with foil and refrigerate for up to 2 days. When ready to eat, bake directly from the fridge, adding 10-15 minutes to the baking time. You can also freeze the unbaked casserole for up to 3 months—thaw overnight in the fridge before baking. This makes busy weeknights a breeze.
- For a smoky depth of flavor, try adding 1/2 teaspoon of chipotle powder or a minced chipotle pepper in adobo sauce. This will give the casserole a subtle heat and a rich, earthy smokiness that complements the beans and chicken. If you're sensitive to spice, start with a small amount and adjust to taste.
Variations
- Vegetarian Version: Replace the chicken with 1 can (15 oz) of pinto beans and 1 cup of corn kernels (fresh, frozen, or canned). You can also add diced bell peppers and zucchini for extra veggies. The protein content will be slightly lower, but you can boost it by adding crumbled tofu or tempeh. Use vegetable broth instead of chicken broth if using homemade enchilada sauce.
- Low-Carb / Keto Adaptation: Substitute the rice with cauliflower rice. To avoid a watery casserole, sauté the cauliflower rice in a dry skillet over medium-high heat for 5-7 minutes to evaporate excess moisture before mixing. You can also add extra cheese and sour cream to increase fat content. Use a low-carb enchilada sauce (check labels for added sugar). This version is perfect for those watching their carbohydrate intake.
- Ground Beef or Turkey Option: Swap the shredded chicken for 1 lb of lean ground beef or turkey. Brown the meat in the skillet first, breaking it into crumbles, then proceed with the onions and garlic. Drain any excess fat before adding the beans and sauce. This variation adds a different texture and flavor profile, and it's often more budget-friendly. Ground turkey keeps it lean while ground beef adds richness.
- Spicy Southwest Twist: Add 1 diced jalapeño (seeds removed for less heat) along with the onions, and stir in 1/2 teaspoon of cayenne pepper or a dash of hot sauce. Use pepper jack cheese instead of Mexican blend for an extra kick. Top with sliced pickled jalapeños before serving. This version is for those who love bold, fiery flavors.
- Burrito Bowl Style: Skip the baking step and serve the mixture in bowls over a bed of lettuce with all the toppings. This deconstructed version is quicker and can be customized per person. It's also a great way to use leftovers—just reheat the filling and serve fresh. Add extra fresh salsa, guacamole, and a squeeze of lime for brightness.
Nutrition
- Calories485 kcal
- Total Fat18g
- Saturated Fat8g
- Cholesterol85mg
- Sodium920mg
- Total Carbohydrates45g
- Dietary Fiber9g
- Sugars6g
- Protein38g