
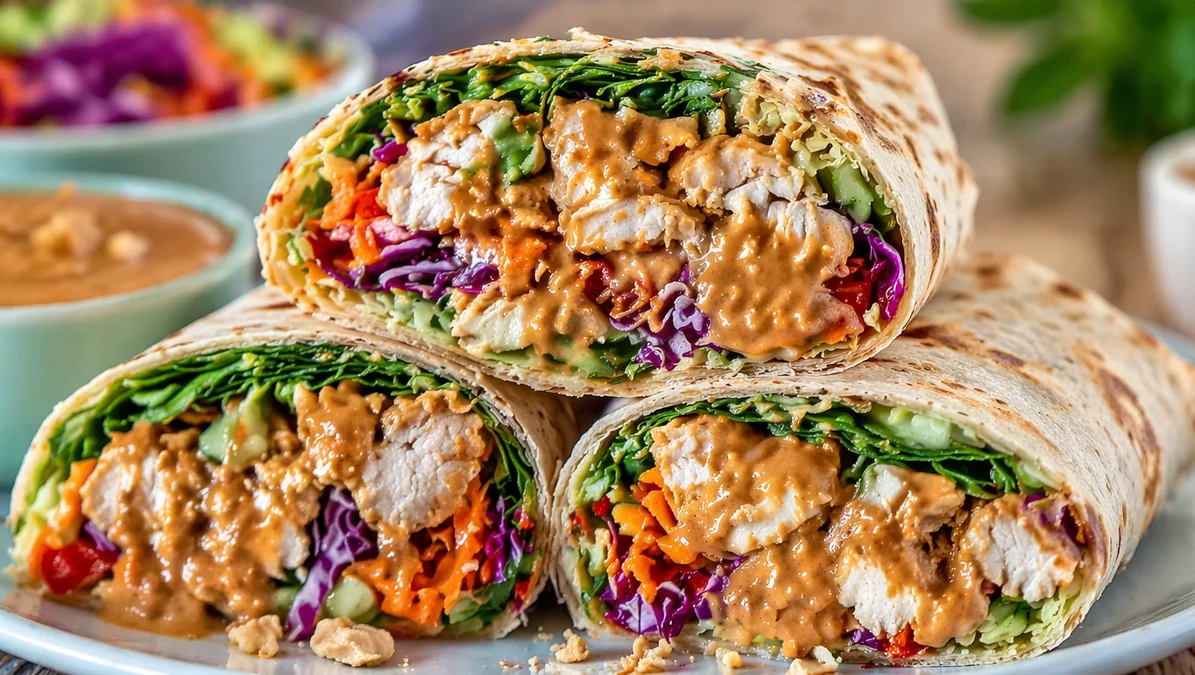
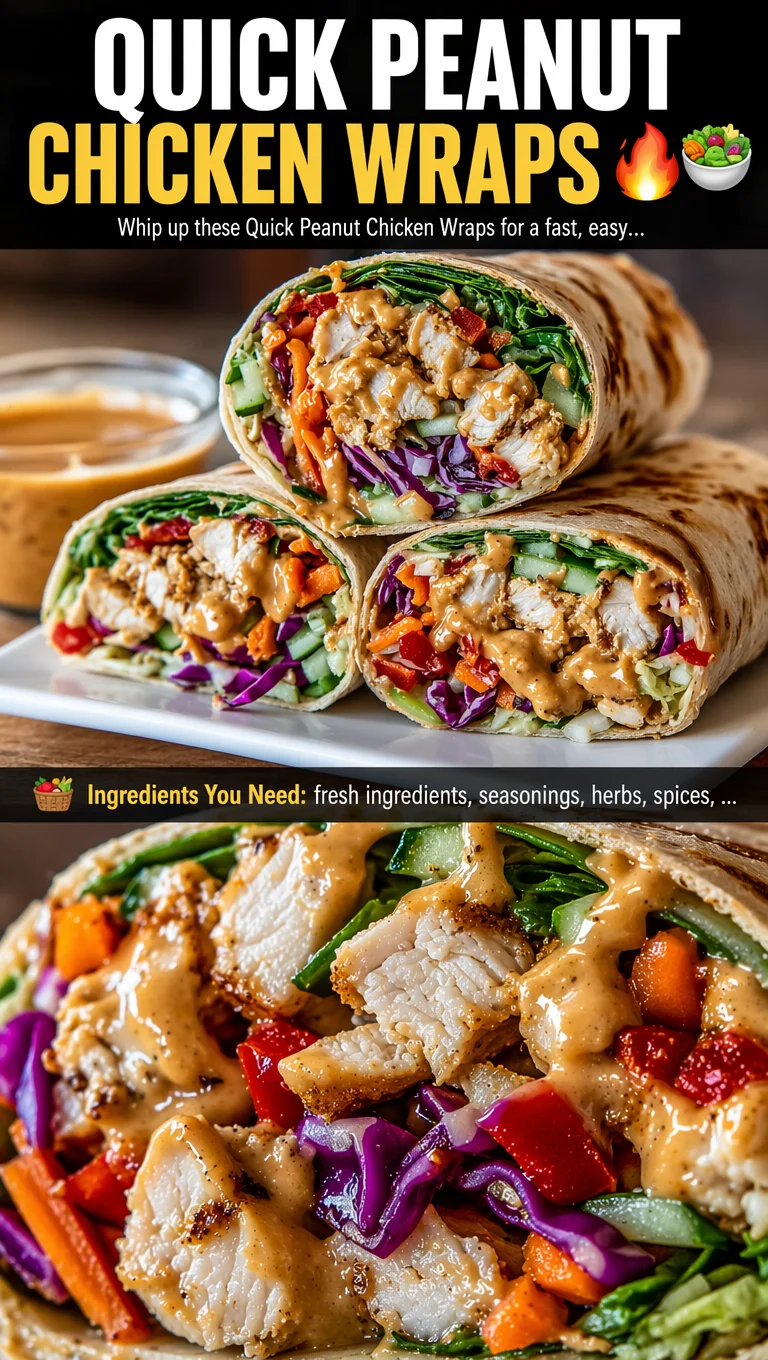
Whip up these Quick Peanut Chicken Wraps for a fast, easy high-protein meal that bursts with bold Thai-inspired flavor. Perfect for healthy lunch meal prep or high-protein dinners in under…
Ingredients
Instructions
First, prepare the peanut sauce as it allows time for flavors to meld. In a medium bowl, whisk together 1/3 cup creamy peanut butter, 2 tablespoons low-sodium soy sauce, 1 tablespoon rice vinegar, 1 tablespoon honey, 1 teaspoon sesame oil, 1 teaspoon fresh grated ginger, and 1 minced garlic clove. The mixture will be thick; gradually add 2-3 tablespoons of warm water, whisking continuously, until you achieve a smooth, pourable consistency similar to heavy cream. Taste and adjust: if you prefer more tang, add a splash more vinegar; for sweetness, a bit more honey. The sauce should be boldly flavorful as it will coat the chicken. Set aside. This sauce can be made up to 3 days in advance and refrigerated; simply stir in a little warm water before using.
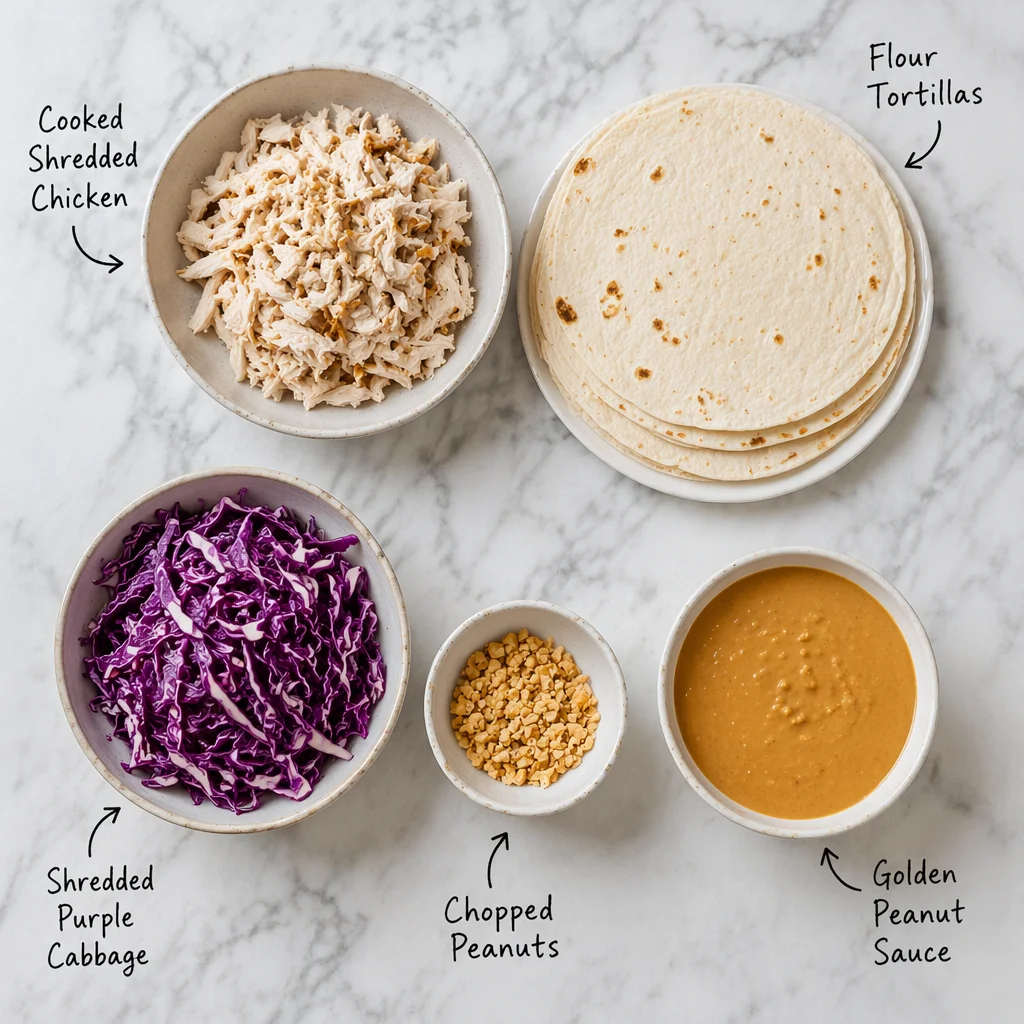
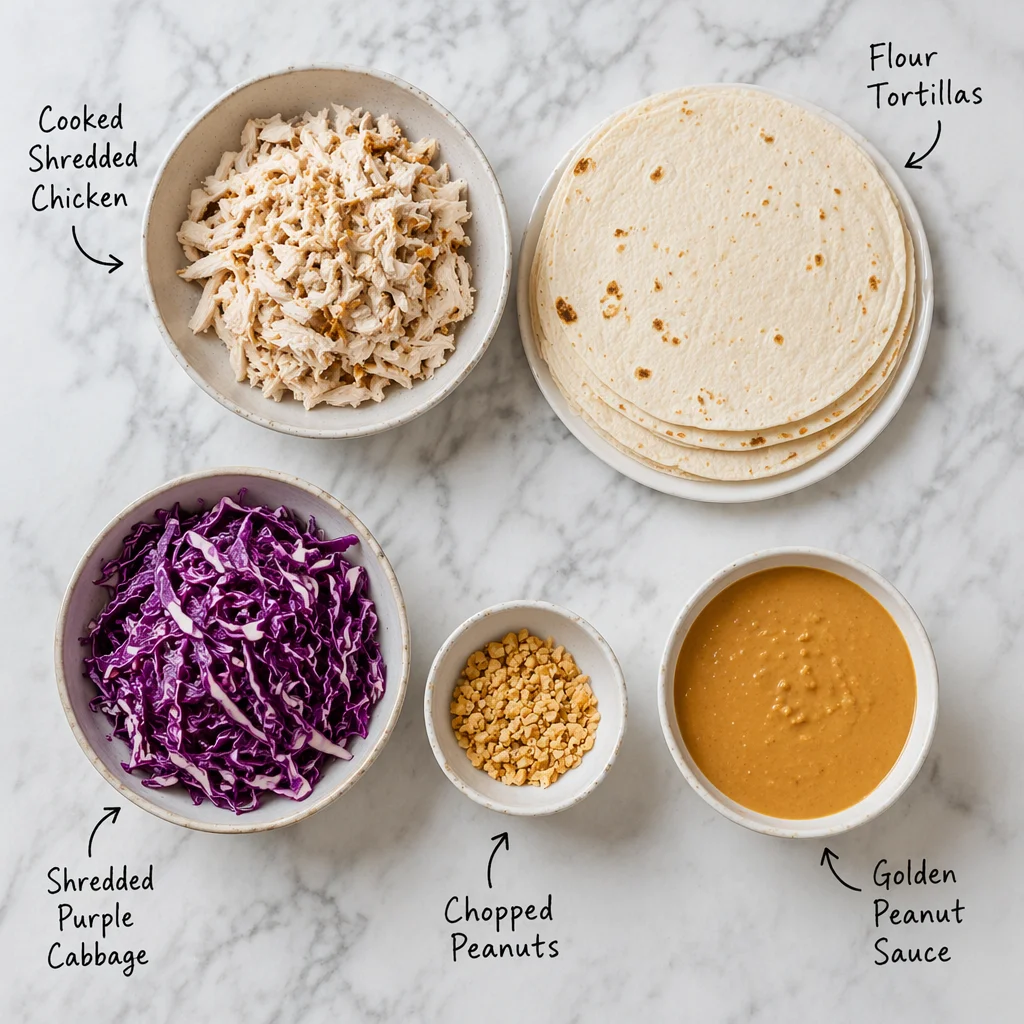
Now, prepare the chicken and vegetables. If using rotisserie chicken, remove skin and bones, then shred the meat with two forks or your hands into bite-sized pieces. You should have about 2 cups. If using leftover cooked chicken, shred similarly. In a large bowl, combine the shredded chicken with half of the peanut sauce (about 1/4 cup). Toss well until every piece is lightly coated. This ensures the chicken is flavorful throughout. For the vegetables, shred the purple cabbage and carrots if not pre-shredded. You can use a box grater or a food processor with a shredding disk. The cabbage adds crunch and color; carrots bring sweetness. Set aside.
Warm the tortillas to make them pliable and prevent cracking. Stack the 4 tortillas on a microwave-safe plate, cover with a damp paper towel, and microwave for 20-30 seconds. Alternatively, warm them one by one in a dry skillet over medium heat for about 15 seconds per side. They should be soft and slightly flexible. Lay one tortilla flat on a clean work surface. Spread about 1 tablespoon of the remaining peanut sauce down the center of the tortilla, leaving a 2-inch border at the bottom and top. This acts as a flavor base and helps the fillings stick.
Assemble the wrap: Place about 1/2 cup of the sauced chicken in a line down the center of the tortilla. Top with a generous handful of shredded cabbage and carrots (about 1/4 cup total). Sprinkle with 1 tablespoon of chopped peanuts and a few cilantro leaves. Be careful not to overfill; you want a tight wrap that holds together. Fold the bottom flap over the filling, then fold in the two sides, and roll tightly away from you, keeping tension on the wrap. Place seam-side down on a plate. Repeat with remaining tortillas and fillings.
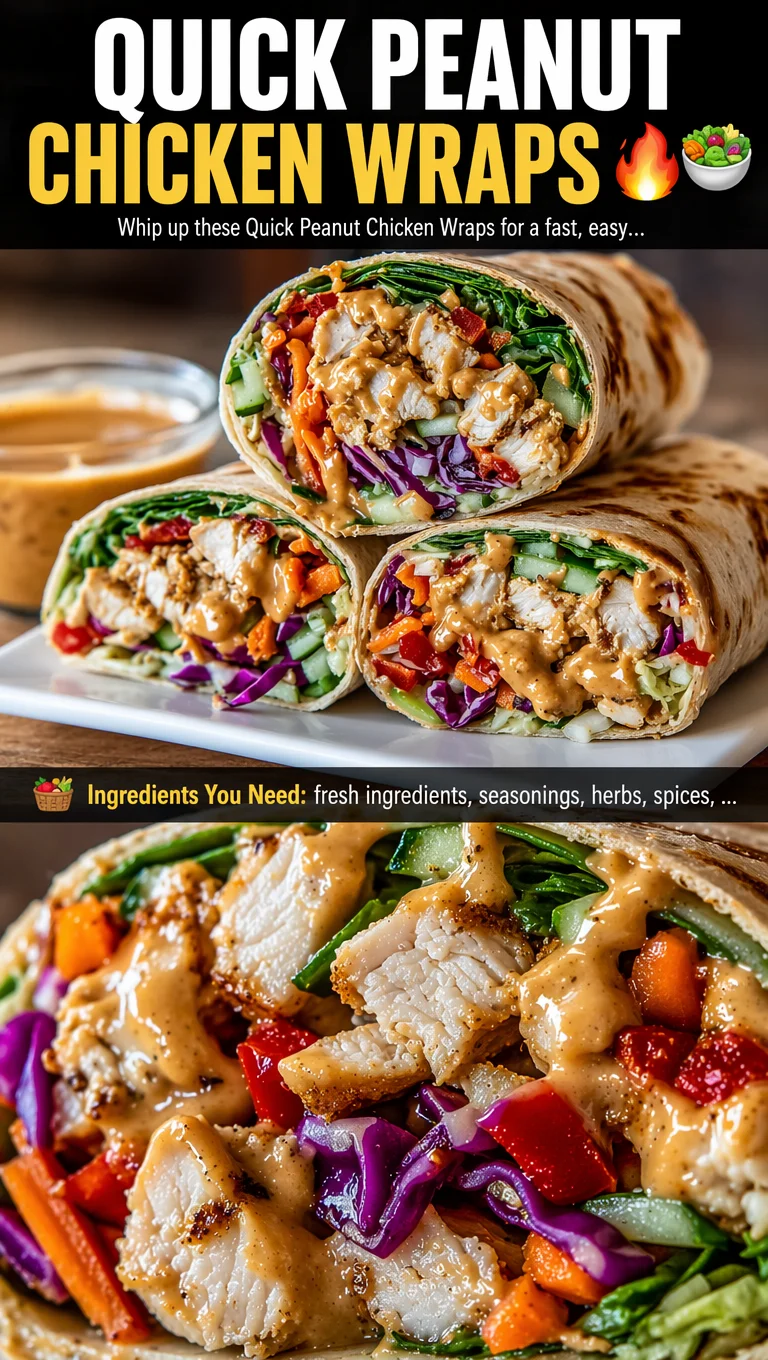
For serving, you can enjoy the wraps immediately. For a neat presentation, slice each wrap in half diagonally with a sharp serrated knife. The cross-section reveals the colorful layers of chicken, crunchy slaw, and glossy peanut sauce. If meal prepping, wrap each assembled wrap tightly in foil or plastic wrap and refrigerate for up to 3 days. To serve later, enjoy cold or reheat in a skillet over medium heat for 2-3 minutes per side to crisp the tortilla. Drizzle any reserved peanut sauce on top just before eating. These wraps are perfect for a quick lunch or dinner on the go.
For best results
- For the best texture and flavor, use a natural peanut butter that contains only peanuts and salt, without added sugars or hydrogenated oils. The oil separation is normal; stir it well before measuring. If your peanut butter is too thick, microwave it for 10-15 seconds to soften before mixing the sauce. This ensures a silky, emulsified sauce that clings perfectly to the chicken.
- To save time on busy weeknights, prep the components in advance. Shred the cabbage and carrots up to 2 days ahead and store them in airtight containers in the fridge. The peanut sauce can be made up to 5 days ahead. Shred the chicken from a rotisserie chicken as soon as you get home from the store. Then, assembly takes just 5 minutes when you're ready to eat.
- If you prefer a warm wrap, you can briefly pan-sear the assembled wrap in a non-stick skillet over medium heat for about 2 minutes per side. This gives the tortilla a golden, crispy exterior while the interior stays warm and juicy. Avoid using high heat as it may burn the tortilla before the filling warms through.
- Customize the spice level to your liking. For a mild heat, add a pinch of red pepper flakes to the peanut sauce. For more heat, include 1 teaspoon of sriracha or a finely chopped Thai bird chili. You can also serve extra sriracha on the side for those who want an extra kick.
- To make this recipe gluten-free, use gluten-free tortillas (corn or cassava-based work well) and substitute tamari or coconut aminos for the soy sauce. Ensure your peanut butter is certified gluten-free if needed. The rest of the ingredients are naturally gluten-free.
- For a lighter option, use low-carb or whole wheat tortillas. You can also turn these into lettuce wraps by using large butter lettuce or romaine leaves instead of tortillas. The filling will be just as delicious, and the lettuce adds extra crunch while reducing carbs and calories.
Variations
- Vegetarian/Vegan Version: Replace the shredded chicken with 2 cups of cooked, shredded jackfruit (canned in water or brine, drained and shredded) or 1 block (14 oz) of extra-firm tofu, pressed, crumbled, and sautéed until golden. For vegan sauce, use maple syrup instead of honey and ensure the tortillas are vegan-friendly. The jackfruit mimics the texture of shredded chicken beautifully and absorbs the peanut sauce wonderfully.
- Spicy Mango Twist: Add 1/2 cup of diced ripe mango to the filling for a sweet and tropical contrast to the savory peanut sauce. Mango pairs exceptionally well with the ginger and lime. You can also substitute half of the shredded carrots with julienned mango for a vibrant color and flavor boost. This variation is perfect for summer meals.
- Protein Swap: Instead of chicken, use cooked shrimp (peeled and deveined), sliced steak (such as flank or sirloin, cooked to medium-rare and sliced thin), or even canned tuna (drained and flaked). Each protein brings a different texture: shrimp adds a delicate bite, steak offers a hearty chew, and tuna provides a budget-friendly option. Adjust cooking time accordingly.
- Low-Carb/Keto Adaptation: Use large lettuce leaves (romaine or butter lettuce) instead of tortillas. Omit the honey in the sauce or replace with a keto-friendly sweetener like erythritol. Increase the healthy fats by adding sliced avocado to the wrap. This version is high in protein and healthy fats, keeping you full and satisfied.
- Baked Peanut Chicken Wraps: For a warm, crispy version, assemble the wraps as directed, place them seam-side down on a baking sheet lined with parchment paper, and bake at 375°F (190°C) for 12-15 minutes until the tortillas are golden and crisp. This method is great for meal prepping multiple wraps at once and yields a satisfying crunch.
Nutrition
- Calories485 kcal
- Total Fat24g
- Saturated Fat5g
- Cholesterol65mg
- Sodium820mg
- Total Carbohydrates38g
- Dietary Fiber5g
- Sugars12g
- Protein32g